IMPORTANT: Sologenic is currently running on SIMULATOR mode and therefore all transactions must take place on the TESTNET XRP Ledger.
In this guide you will be using https://test.xrptoolkit.com to remove Trustlines.
Please note that test.xrptoolkit.com is a third-party wallet.In order to remove a trustline, you need to make sure your balance for the asset is 0. To do so, you can transfer back your Assets to Sologenic (Deposit) or another authorized wallet.
First, you will have to choose your signing method. For the purpose of testing, you can provide your TESTNET secret account. Once entered, click "Add Account".
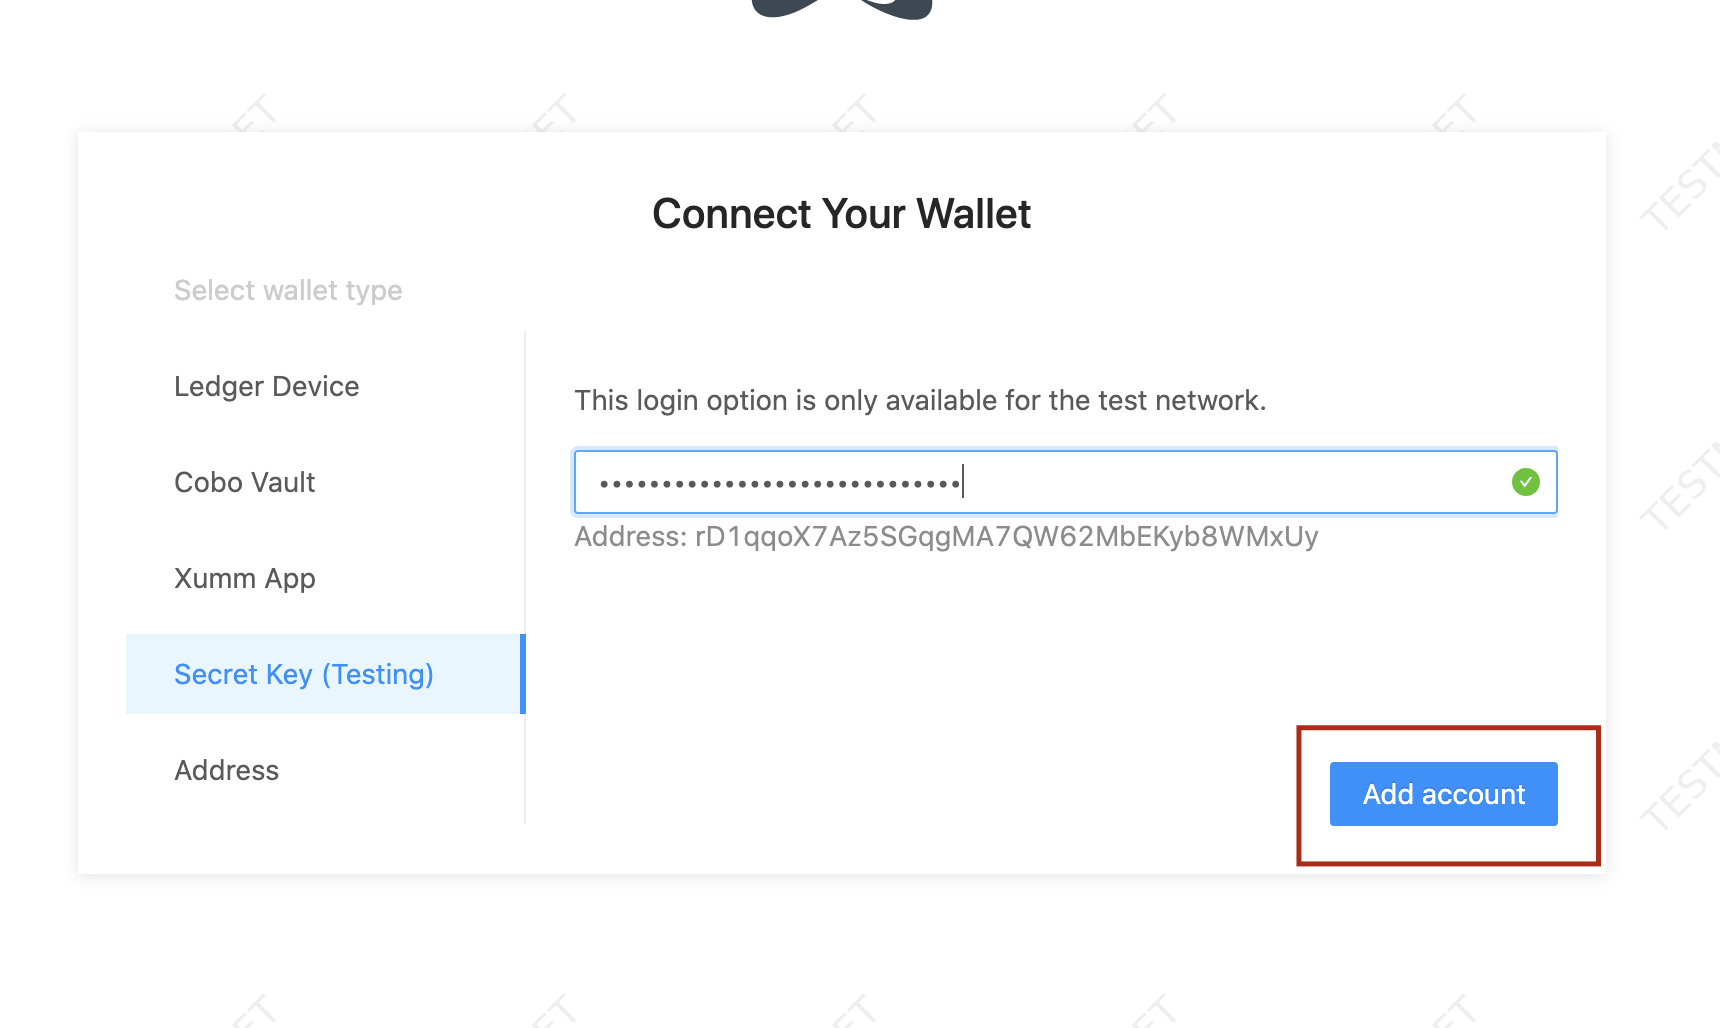
IMPORTANT: NEVER expose your mainnet XRP secret.
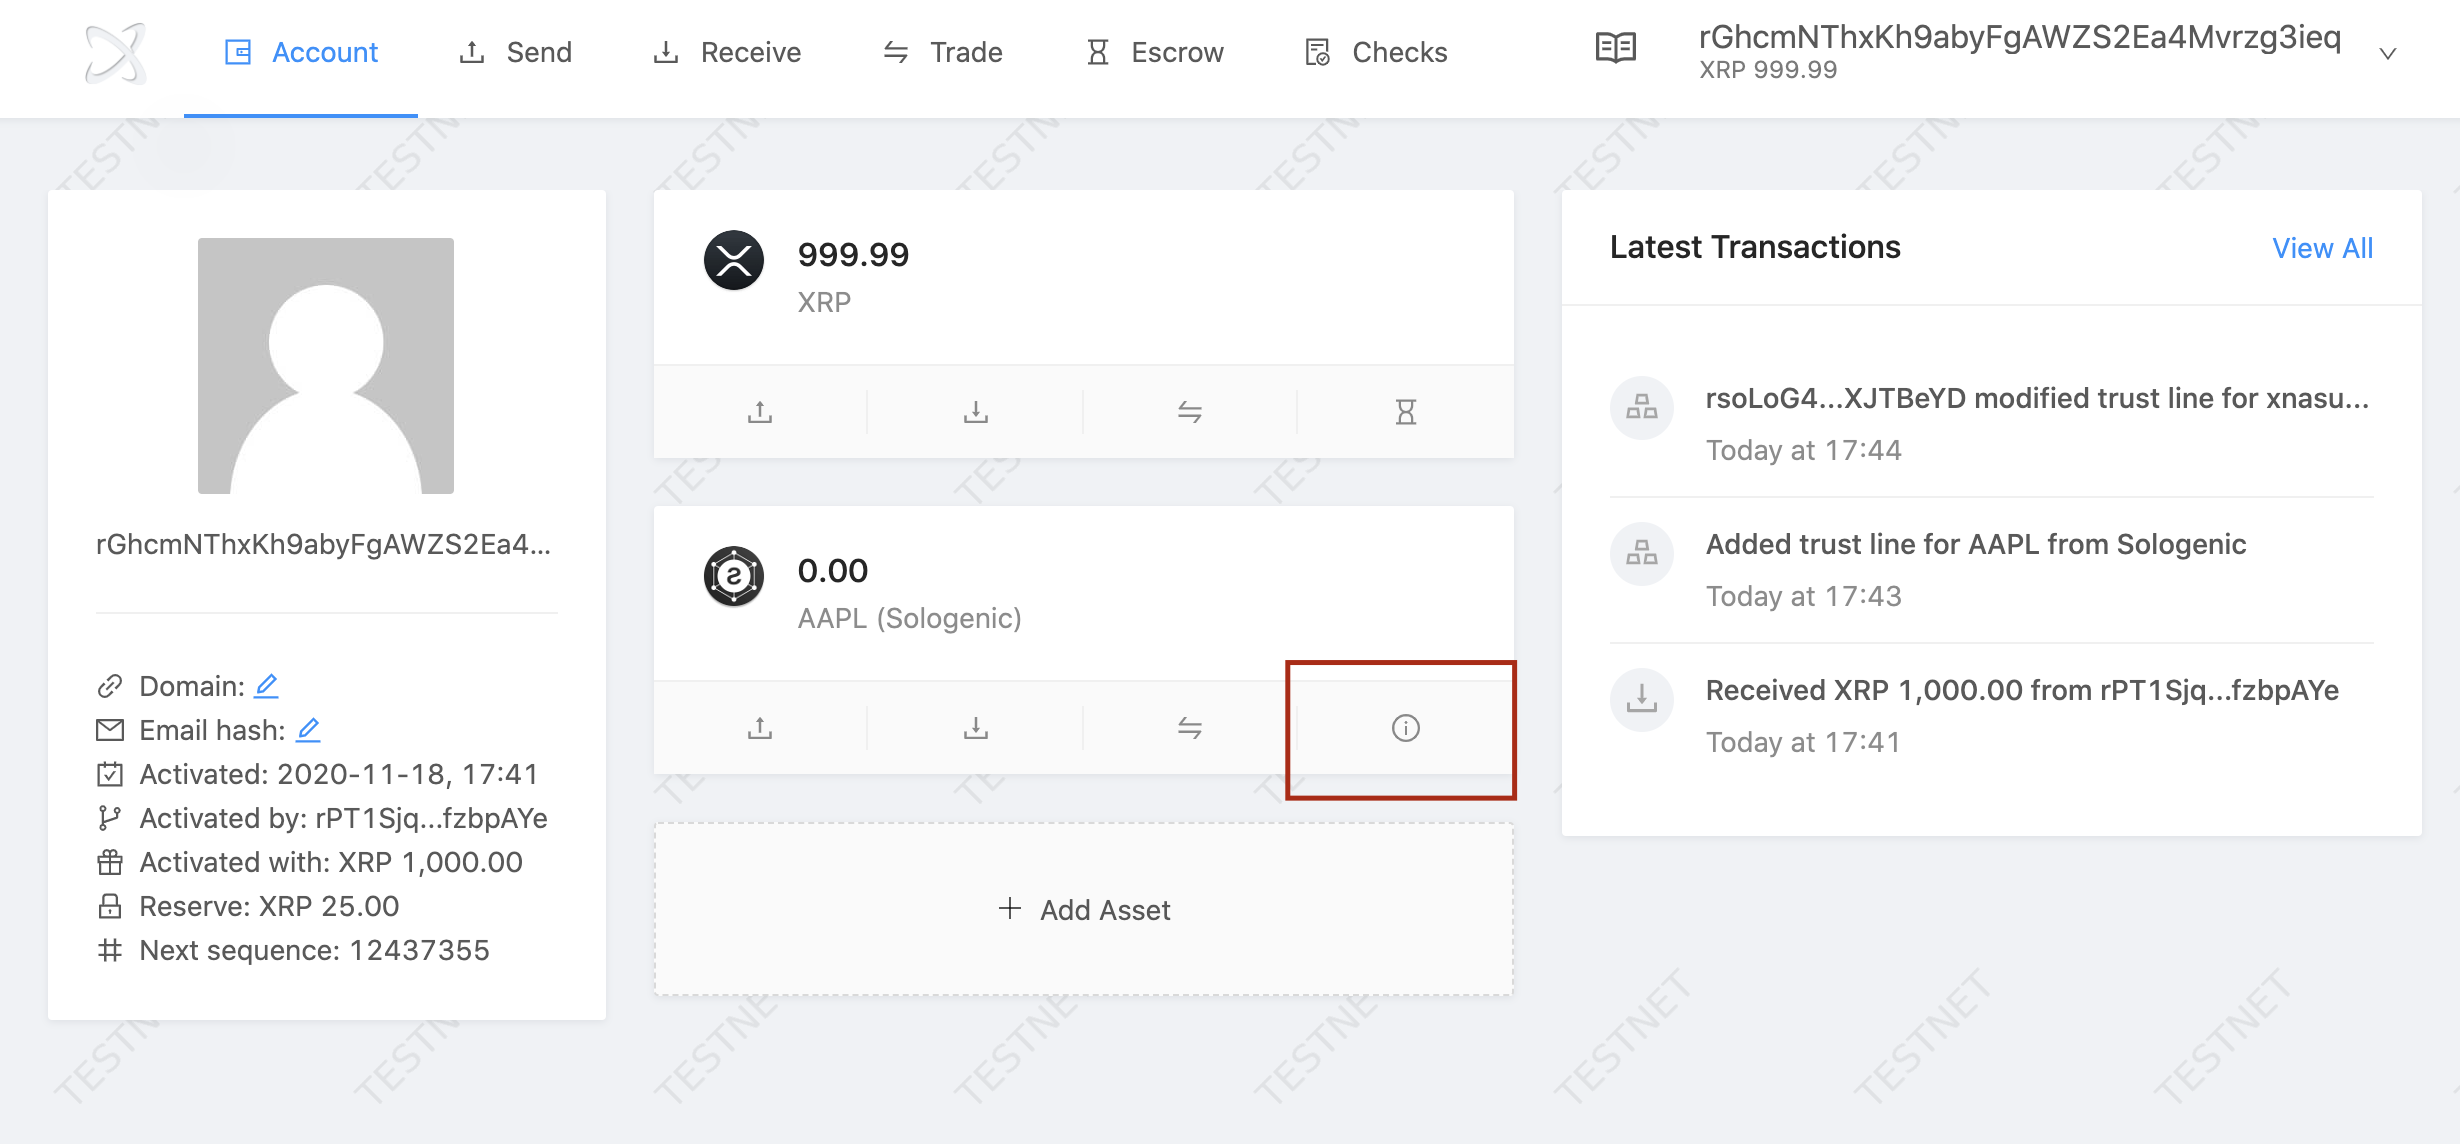
Next click the "i" icon next to the asset that you wish to remove the Trustline from. Please note that removing a Trustline decreases your reserve requirements by 5 XRP. to learn more visit: https://xrpl.org/reserves.html
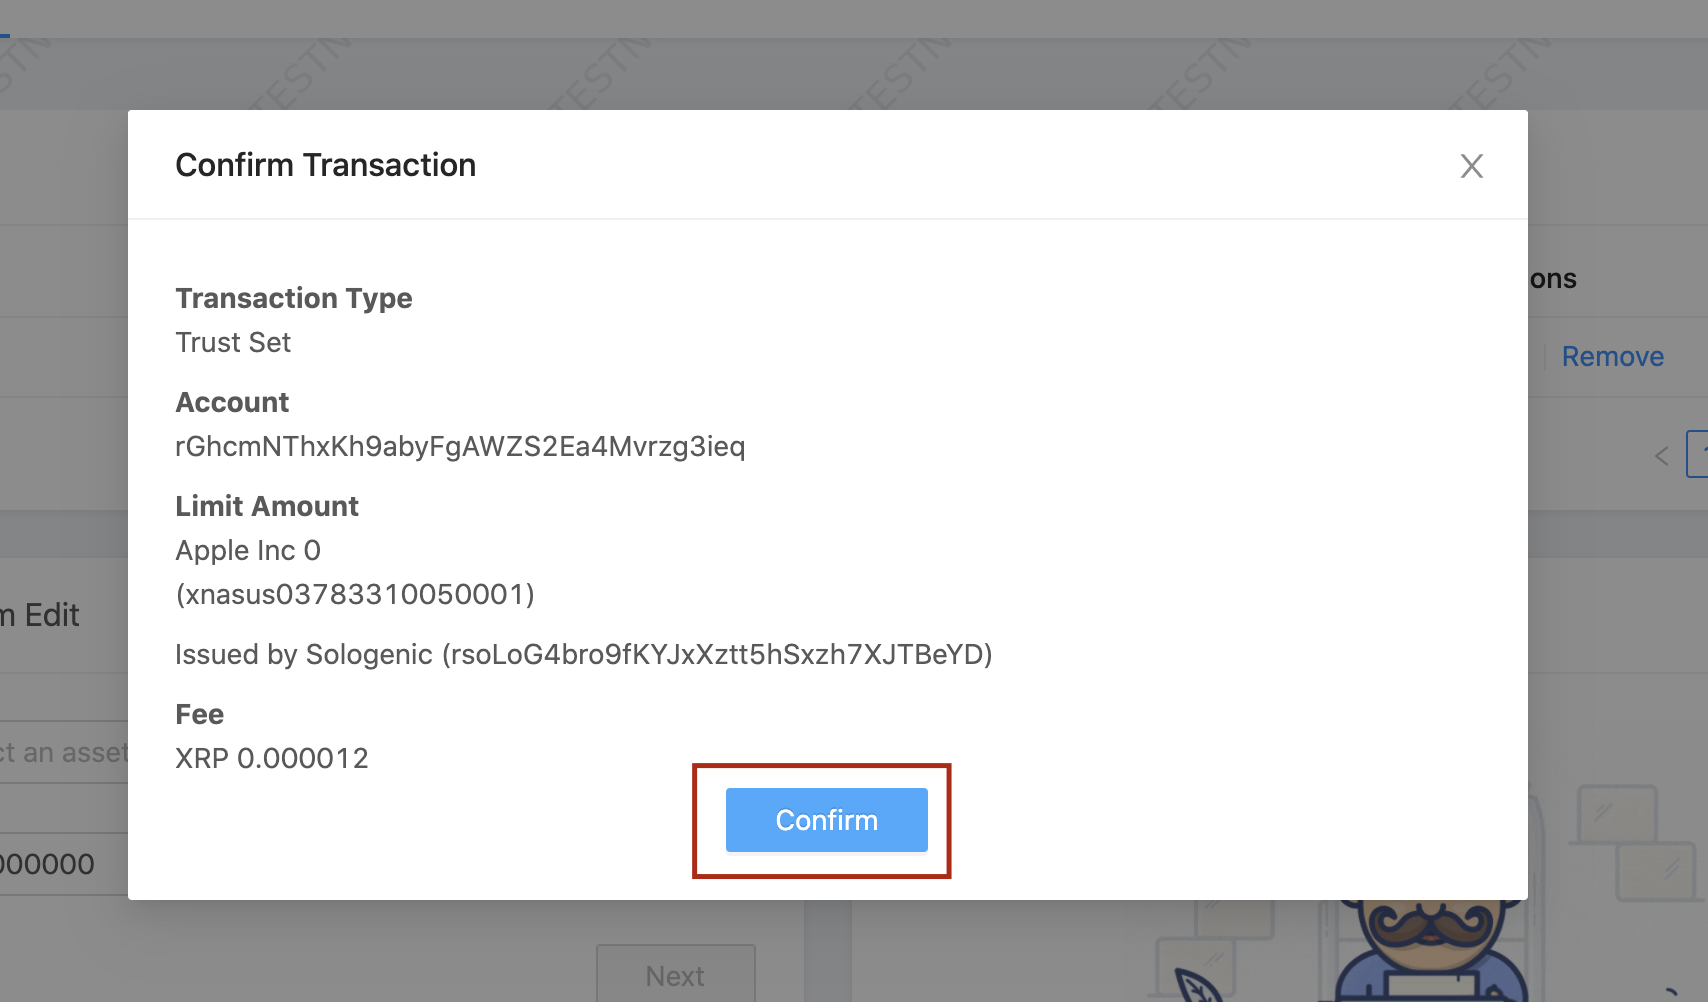
The click "Remove" from the Actions tab.

Then, confirm the transaction.
Once transaction is confirmed, you can no longer see the asset in your dashboard.
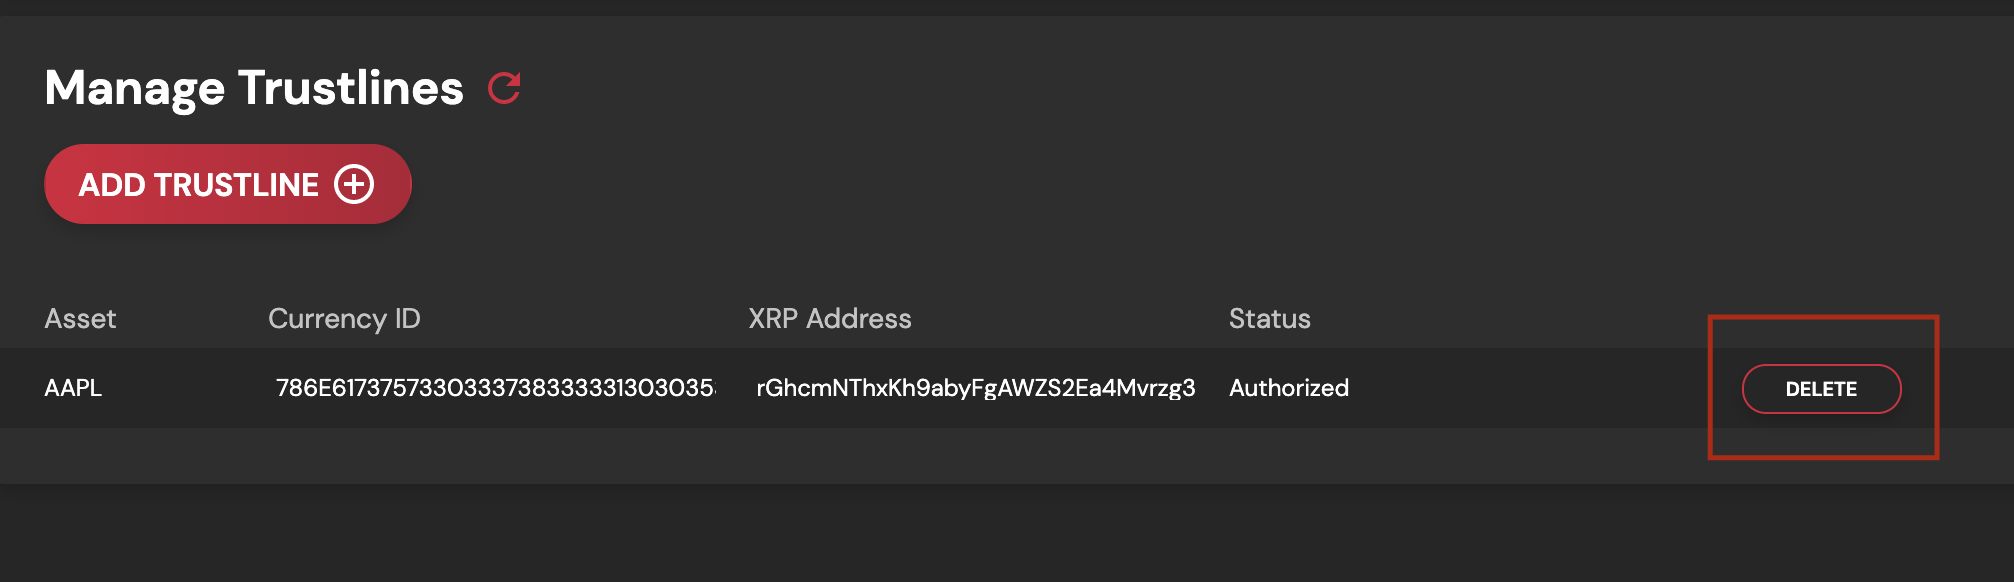
Now that you have removed the Trustline from test.xrptoolkit.com,
you need to remove it by going back to the Sologenic Platform.
Find the asset in the list and click "Delete"
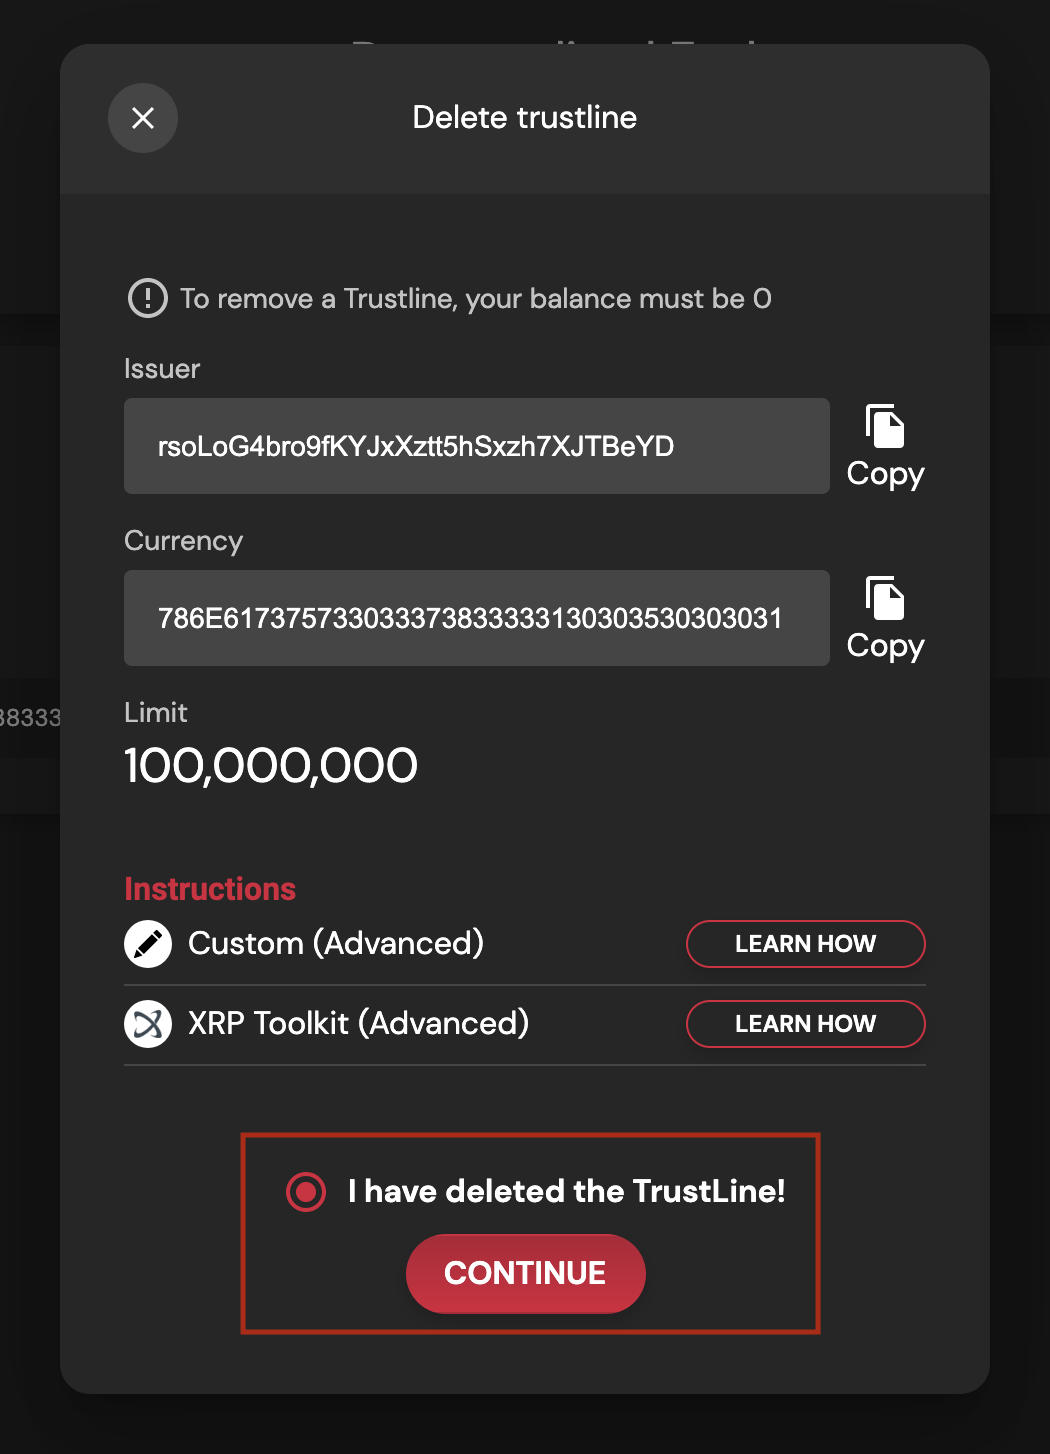
Next, You have to confirm that you have removed the Trustline from the XRP Ledger. Check the box and click "Continue"
Once removed, you will get a notification.